The battle of the design walls…………

Last night I was moving all of the design walls into position for the class.  2 sets of them are just stacked and need to be spread out side by side.  I was shocked to find that 2 of my new 1.5″ foam boards were too wide to fit into the space that two 1″ fit into.  The 1″ boards are tongue and groove so they must be a smidge narrower than 48″.  The 1.5″ are flat on the sides.  I had to move the 2 new thicker ones from across the basement to this position in front of the fireplace and take the 1″ boards that were taped together to make 2″ boards from here over where those were.  Also I had them cut off at 7′ and the conduit pipes are a little lower than the rafters so that caused a problem.  I should have done a dry run on this last week.

Christmas day…….

I took this photo in 2009 and thought it looked like a Christmas card so this year it is!  May peace and joy be in your hearts and lives this holiday season.

In yesterday’s mail was the beautiful piece of quilt glass made by Vicki Welsh.  My name was drawn as the winner of week 2 of the Real Studio tour.  I think I will hang it in the north window of my studio.


This is more like it, the cutting table getting cluttered again.  Last night I counted how many pieces of each color I have cut so I know how many more I need. 

I won’t be answering any comments today.  I’ll be with my family for Christmas dinner.

The REAL studio tour reveal………..

Today I’m linking up with the REAL studio tour, button on my right side bar to check out lots of studios.  Thanks Vicki/Field Trips in Fiber for hosting this.
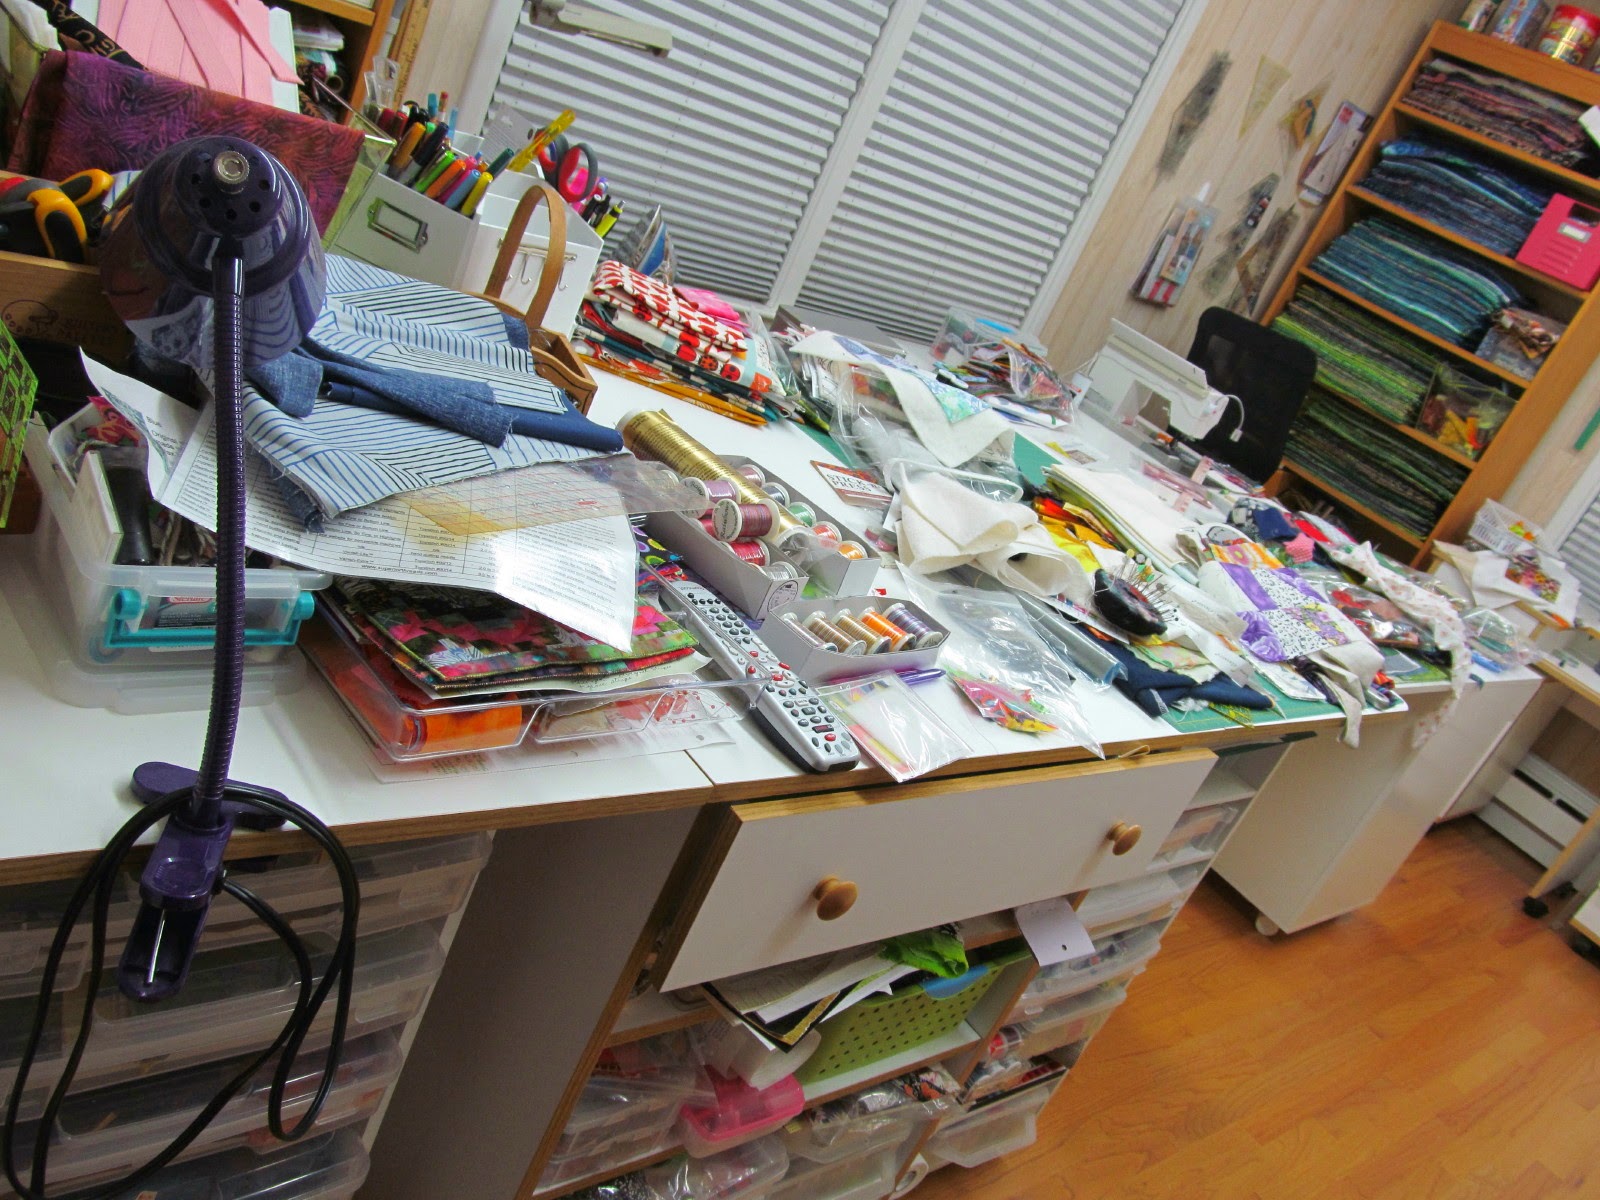
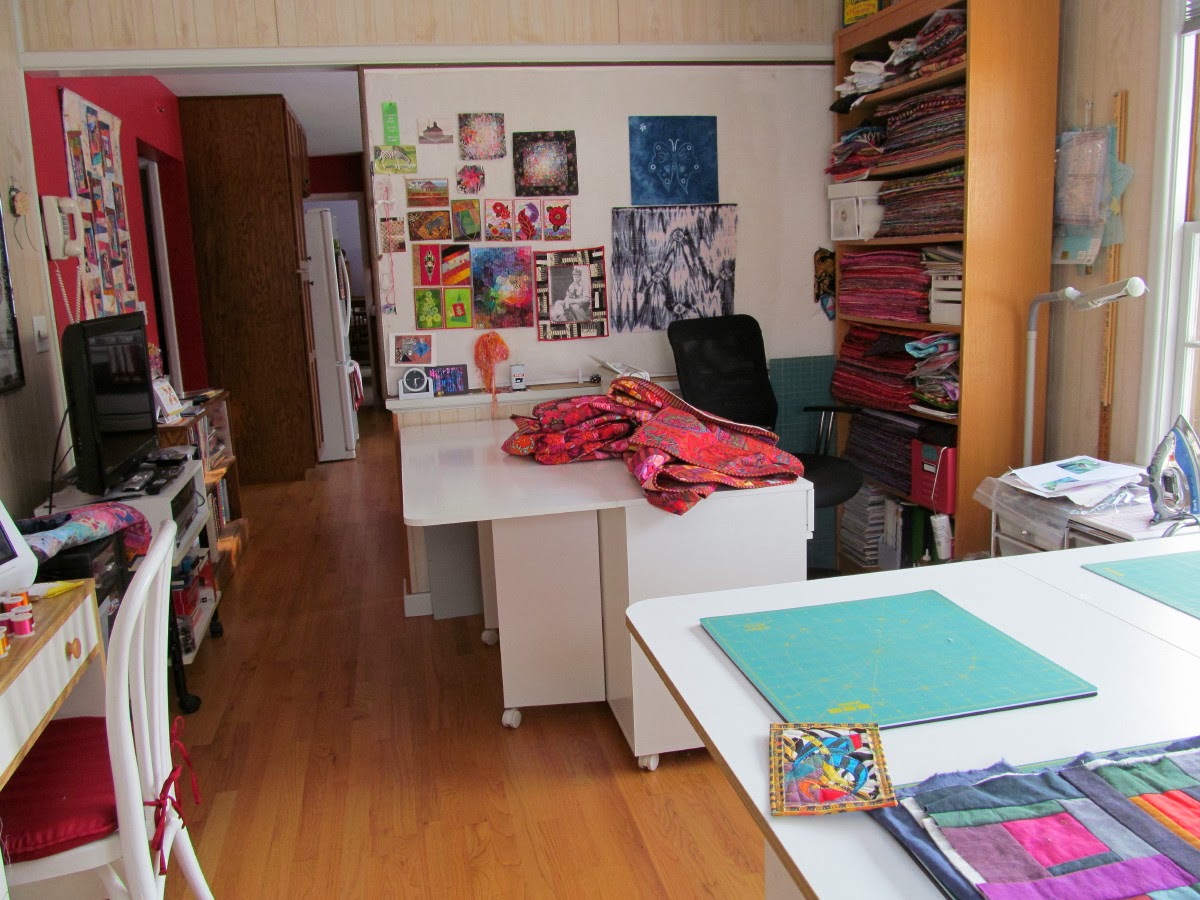
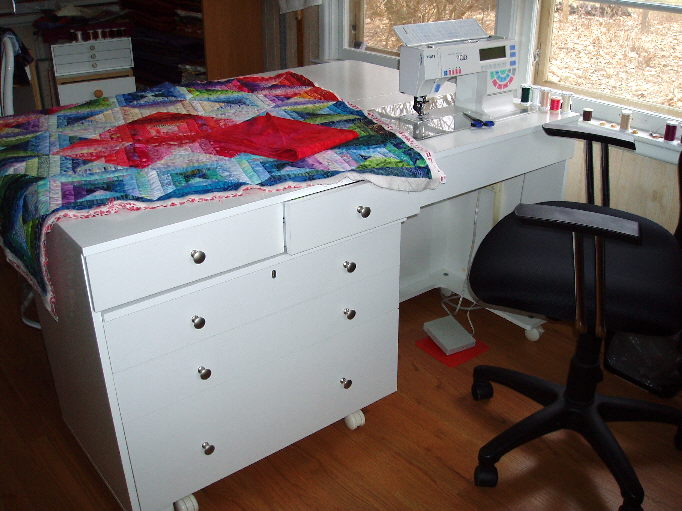
This is my main floor studio.  It would be a family room in this 1950s ranch style house if a normal family lived here.  I’m standing in the doorway, the sewing cabinet to the left, the TV on the right on a cart with wheels so I can turn it toward the kitchen or studio.  The embroidery machine and cabinet are on the same wall as the TV.  I bought the bookcases in 1984 when I finally had a room I could call my own.  I bought most of the furniture at a good discount while working at a sewing machine store.

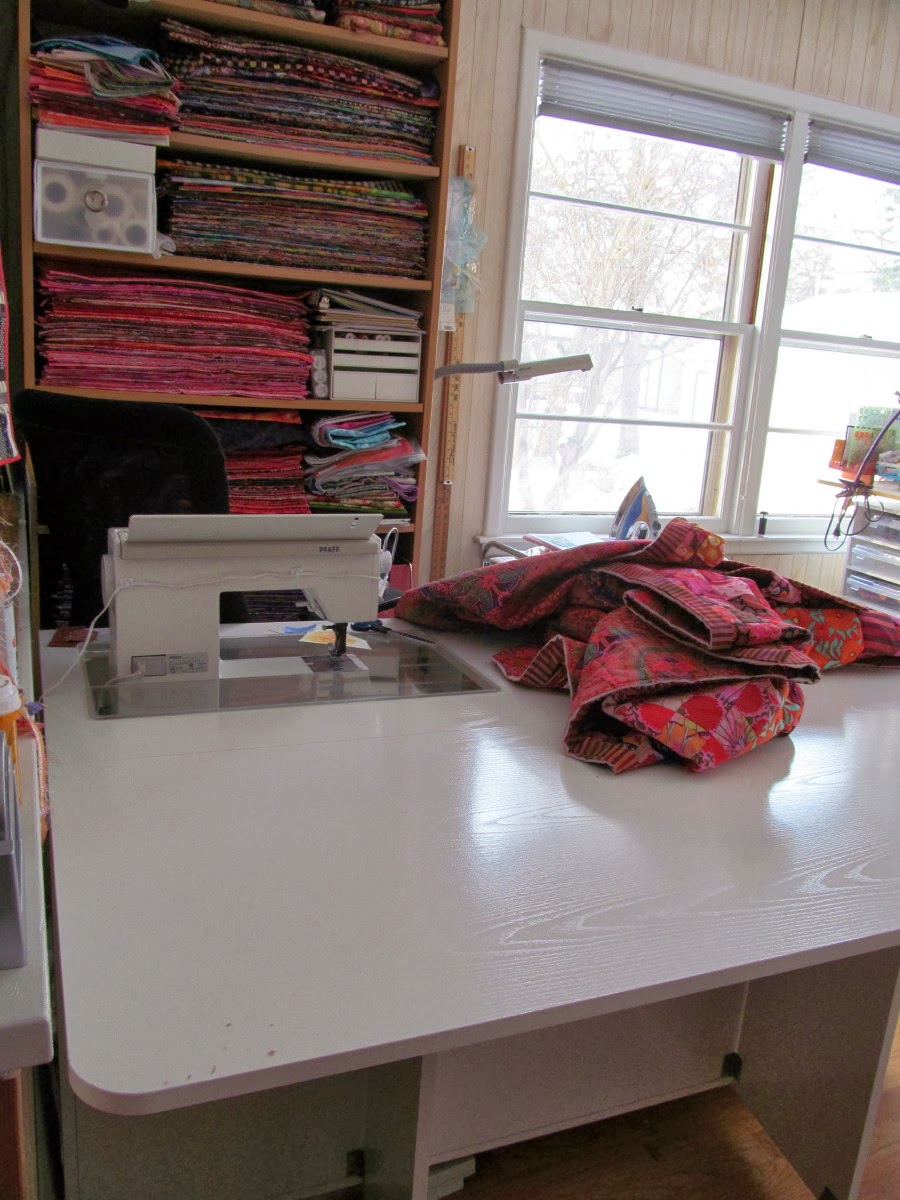
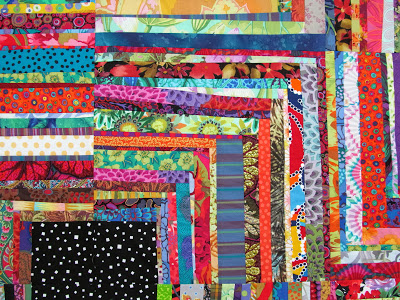
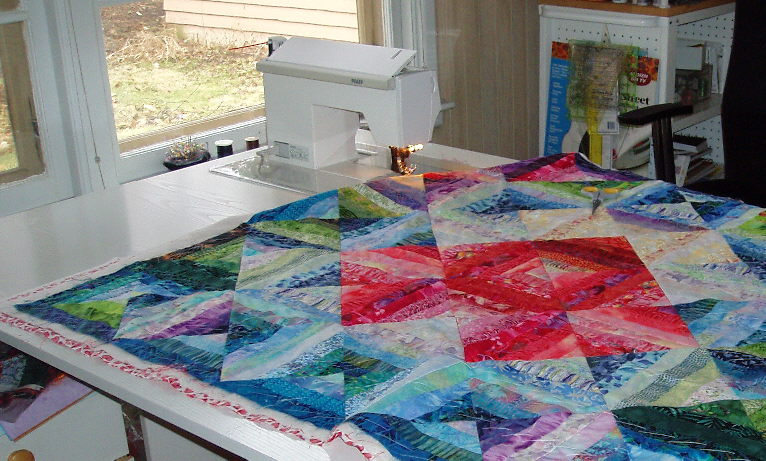
I stepped forward one step and turned to the left so you can see the machine and the third bookcase full of batiks (a 20+ year collection).  I’m still working on the striped binding, half way done when I took this photo.


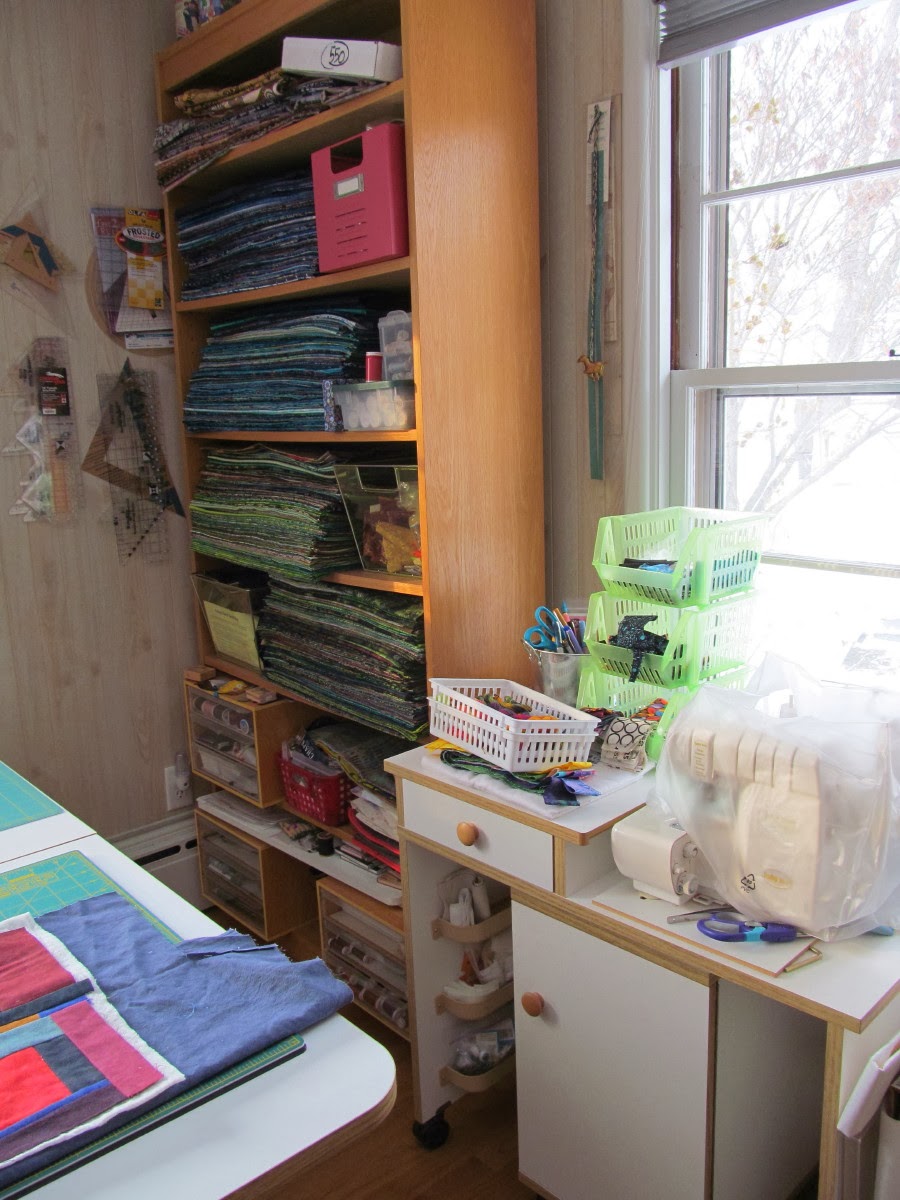
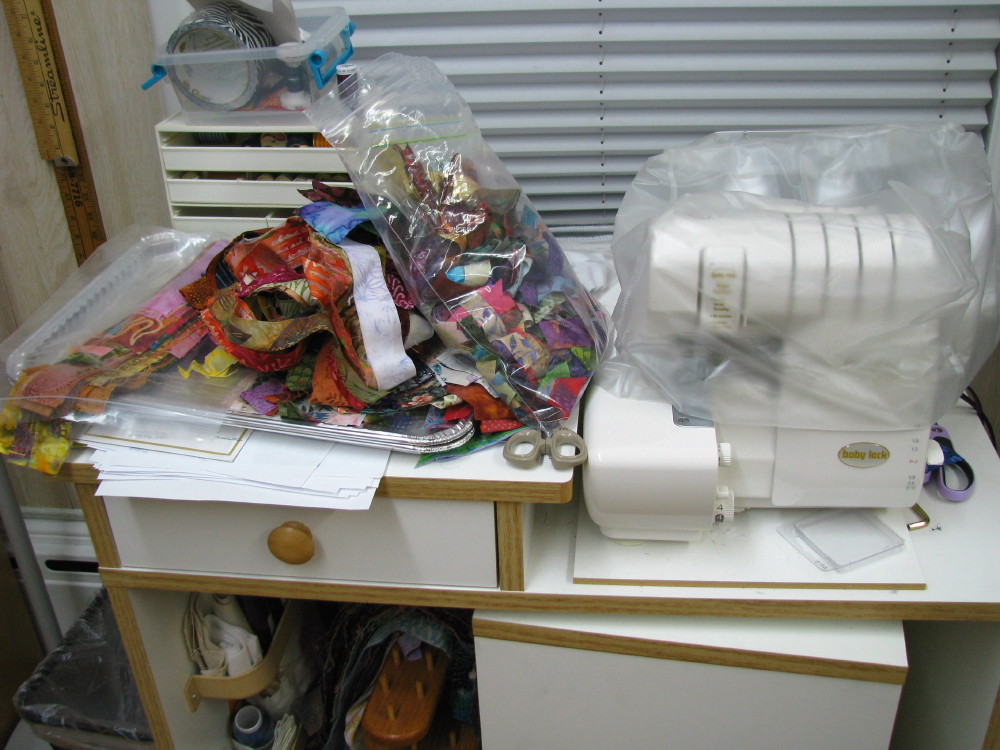
I’m at the far end now, past the cutting table.  My serger is at this end of the room.  The three DMC cabinets I showed last week are in the bottom of the bookcase. 


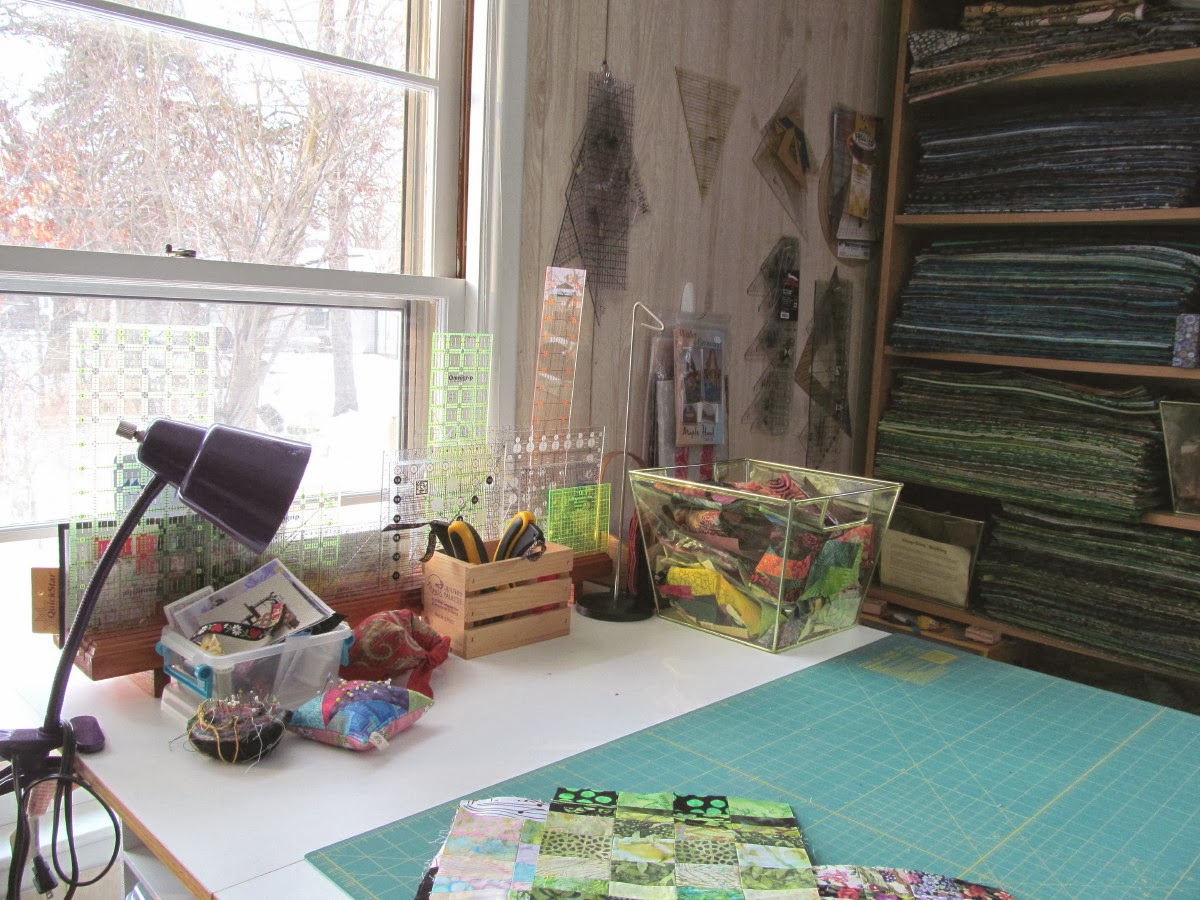
I put a bin on top of the cutting table for all of the miscellaneous stuff that doesn’t have a current home.  I pounded nails in the wall and hung a bunch of my rulers.  The rest are in the slotted rack next to the window. 

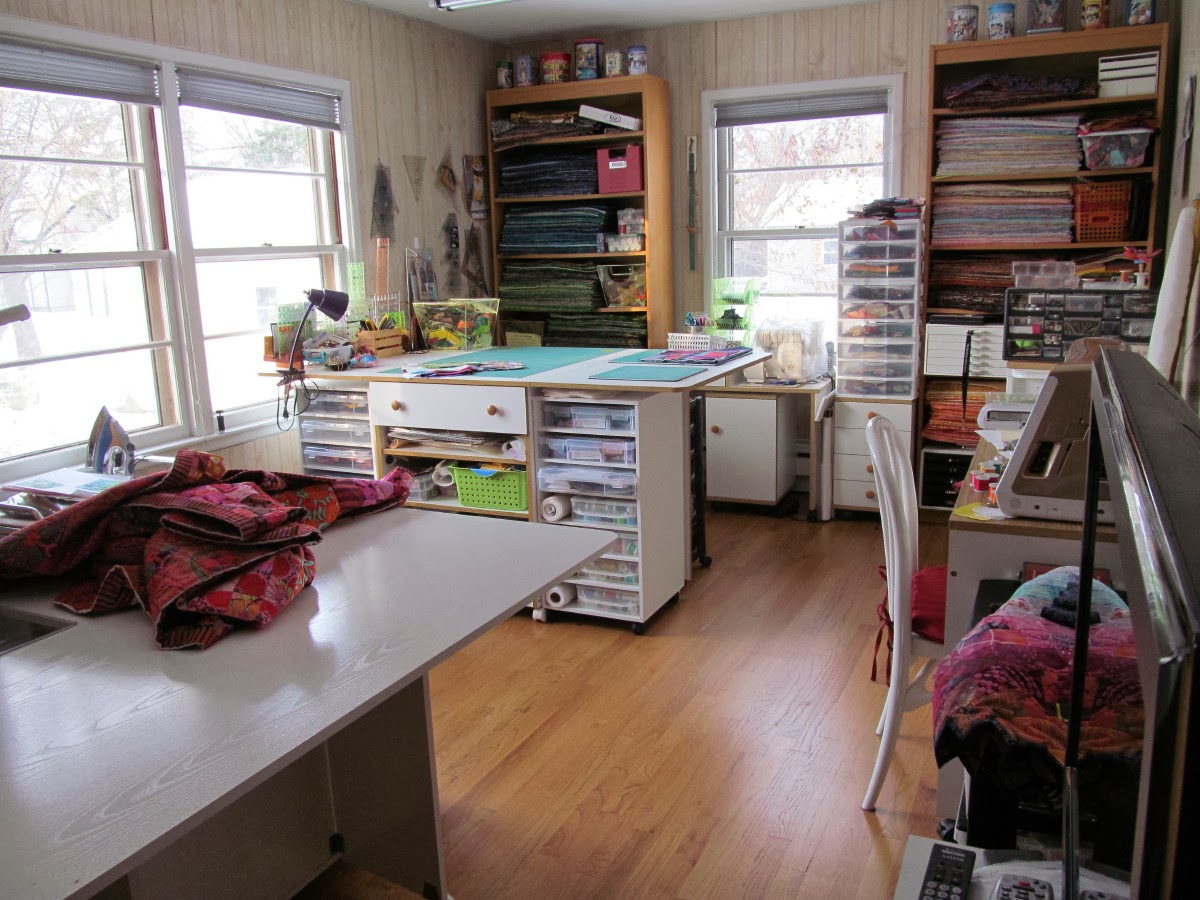
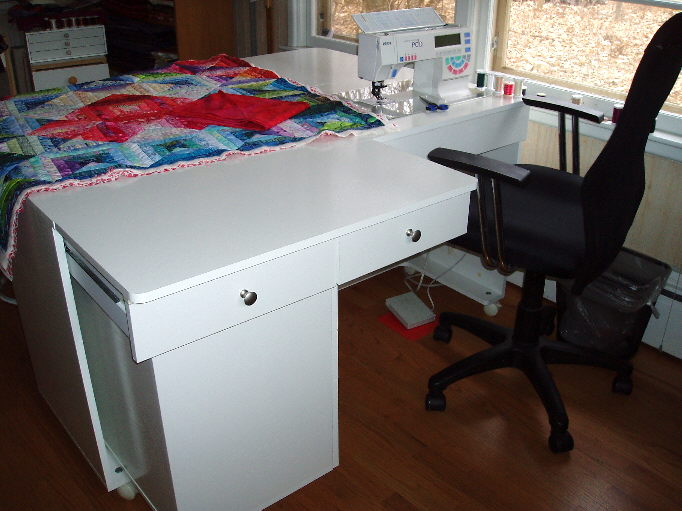
This shot is taken from the far end looking back toward the doorway which leads into my kitchen.  The room is about 11′ x 15′.  If I have the back extension of the embroidery machine cabinet opened up then I close the back extension of the other machine cabinet.

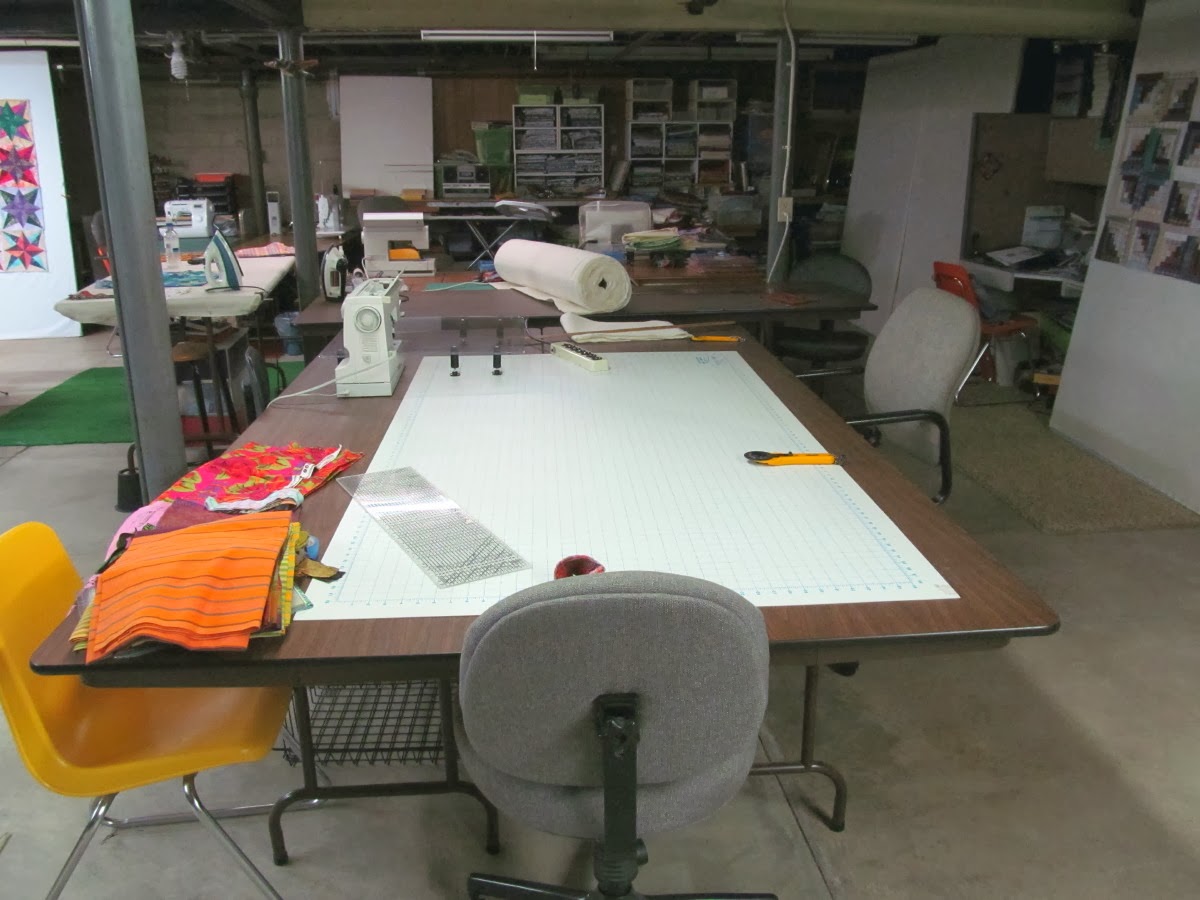
Next is the basement studio (a/k/a the whole basement).  I set this up in 1994.  This photo is taken near the end of the stairway looking to the far end.  There are 2 cutting tables, then my longarm and then 2 design walls.  2 additional design walls are on the left.  The 5′ x 30″ ironing table is at the right which is in the center of the basement.  The wall juts out about 6′ to the left just past the first design wall and second cutting table and that is where my studio cutter is.

I stepped 4 steps to my right to take this photo.  Now the ironing table is on the left.  Right in front of me are two 96″ tables, then another one turned sideways, then 2 sewing machine cabinets, then a drafting/cutting table and finally at the far wall, a work bench with storage shelves on top of it.  There are 3 more design walls on the right, but actually the closest one is 3 stacked in front of each other.  To my right is the washer and dryer and I pull 2 design walls over in front of them when company is coming to play.

I have just turned the corner past the second cutting table and here is the Studio cutter and all of the clutter around it.  My dies are on top of and inside the top shelf of a cabinet just past the cutter’s table.

Now I have turned right and walked past my long arm machine.  Works in progress on several walls, another wall of shelves and another 5′ table.  There is a storage area behind each of the design walls and under the longarm.

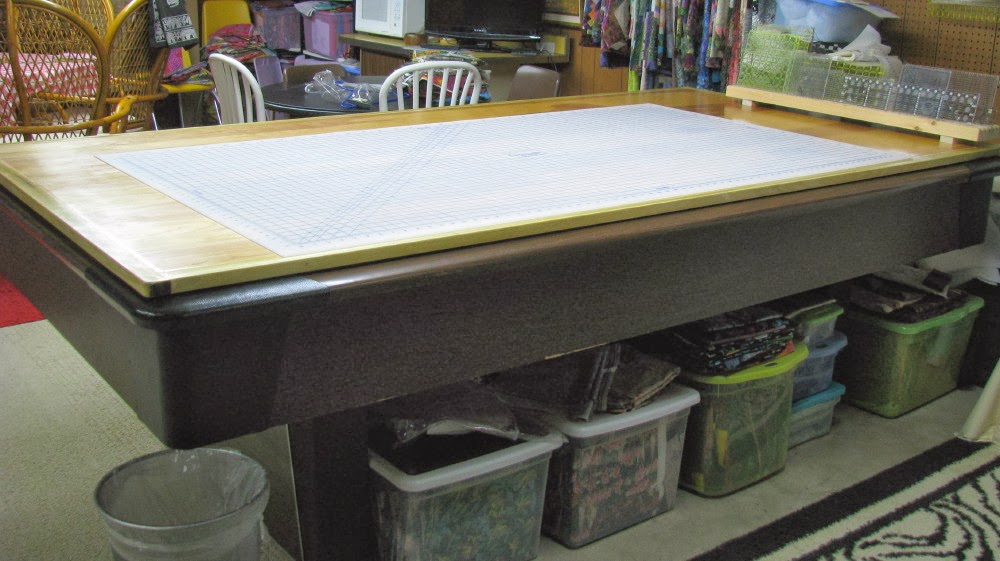
This is a repeat photo from Mother’s day last year when my son made the plywood top for my pool table.  Under it I store my boxes of floral fabrics.  Looking past it you can see 2 tables and chairs, a TV and a microwave.

Walking past the pool table and turning left we’re back up by the stairway again.  These two shelf units back up to the stairway.  This is the only portion of the basement that has a finished ceiling in it.  It also has paneling which is pegboard on the upper half.  You can see the pegboard in the photo of my Studio cutter. 

I sewed in the corner of a room for 25 years and then both kids got married the same year and I got a guest bedroom and a studio.  At that point I decided to clean out the basement (a 10 year project!) and I added the tables and design walls.  I hope you enjoyed the tour.

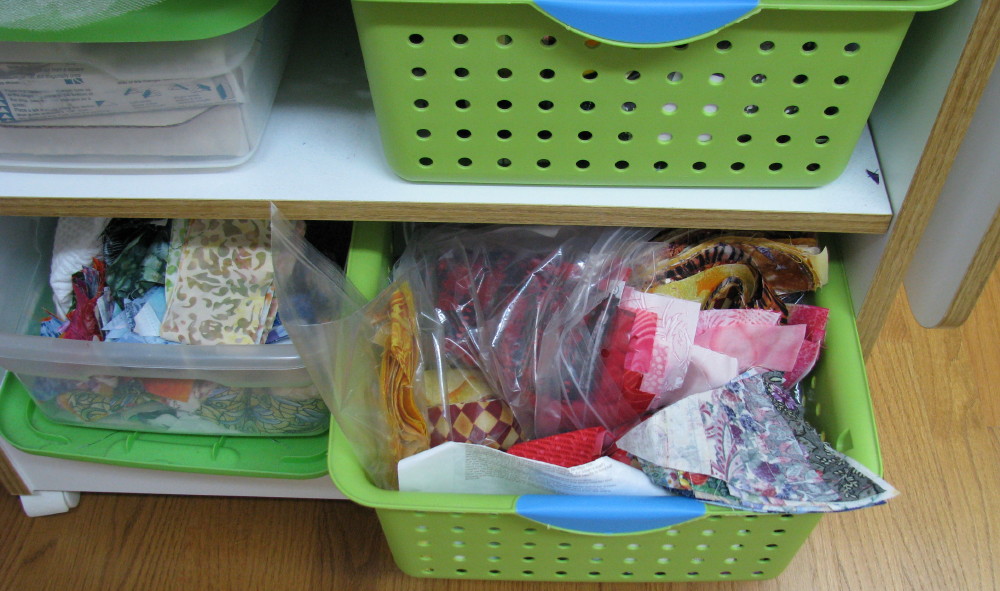
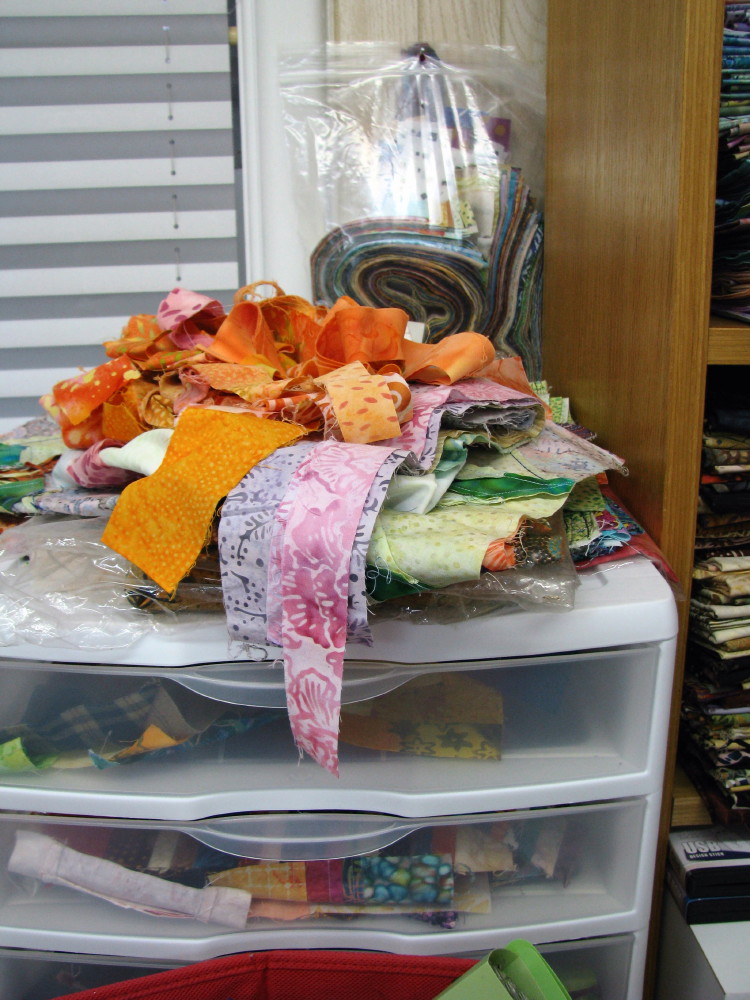
I have posted lots more photos of fabric storage over the last 7 years if you look under STASH on the label list, and also under Organization.

Top sewn, construction station…………

This is what my cabinet looks like while I’m constructing these blocks.  I bring a handful of strips to the area, use them for awhile, go back and get another handful, etc.  Eventually the remainder of the strip is too short so it goes in another pile for new blocks.  The top is sewn together now.


Burning bush, photo taken through the window on a foggy day yesterday.

Flying foot, day 2

When I mentioned the clear plastic quarter inch foot that flew across my studio yesterday, you probably envisioned some nice neat piles of fabric that it could have landed on.  Kay had the suggestion to use a flashlight in a darkened room and the foot would shine and I would find it.  Well, here’s the reality- the mess on the top of my cutting table and all kinds open shelves and bins under it – lots of hiding places.
Most of the bins and shelves have multiple plastic bags with sorted groups of scraps in them, so the plastic bags were the shine, but no foot.

Any flat surface in the room is covered with piles of strips, etc.  I have cleaned over half of the room so far with no foot in sight.  I have found assorted sizes of dust bunnies……

Now I am wondering whether it flew into one of the openings on the baseboard heaters.  I’ll check those today although it could fall farther down inside and not be visible too.
I did find a few things I could throw away, and some things are where they actually belong now. The cutting mat is in clear view now and I can use it.  Here is one of the things I decided I can get rid of – 1/4″ wide trimmings, so pretty but not very useful.  They have been on top of my cutting table for at least 3 years.
I went to church sewing circle yesterday, and dug some more hostas and potted them.  The only sewing was 2 more bindings on mug rugs, square this time.

Diamonds with borders…….

Don’t expect to see this quilt finished any time soon.  I can see it will be my go to project when I want to sew but don’t have anything else ready to sew.  I was still dealing with the fatigue after a headache so I ran errands yesterday and then sewed a few borders on diamonds.
I found this little LED light with a twisty extension on it at Walgreen’s on sale for $4.  I know there is a fancy pricey bright light you can put on a machine but I needed them on 3 machines and this one fit my budget.  I just wrapped the extension around the handle of the sewing machine and then twisted the light to illuminate the area to the right of the presser foot.
A lot of the newer machines have light in the area to the right of the needle but this machine is about 18 years old, the same age as my other two machines.  We found out on Monday that these little lights got dimmer the longer they were on (like a half hour or more) so the plan is to turn it off when I will be away from the machine for more than 5 minutes.  The lights recovered after being turned off for awhile.  The little batteries will cost about 25 cents each if I buy in bulk and there are 3 in each light.  It is a nice low cost alternative for me.

>Still cleaning……….

>

When I talk about cleaning for 4 days before my art quilters’ group comes, I’m not talking about vacuuming.  My dilemma is always ‘where to put all of the stuff’.  I’m a visual person.  Put something away behind closed doors or in a drawer, and I forget about it.  Having ‘stuff’ out all around me in my studio is the way I am and it sparks my creativity.  So when company is coming, it is time to round it all up, organize it, put it somewhere that I will remember, and start fresh with clean tables after they leave.  It’s a good thing I have company on a regular basis or I probably wouldn’t tackle this mess.  The basement has just one more table to clean off, and then we have to hope the weather is going to cooperate so they can come Monday.

>My quilting set up

>If you have been reading my blog for very long, you know that making quilts is not a casual hobby for me. Making colorful things out of fabric has been a major part of my life since I learned to sew in home ec. class in high school. A couple people have commented about my set up so I thought I would show you the other side of it. This is a Koala brand cabinet with matching chest of drawers.
When you are quilting larger pieces, you can turn the chest of drawers sideways, open the top 2 drawers and put the extension piece on top of them. This keeps the quilt from falling to the floor as you are working and lets you keep both hands where you need them, and not supporting the quilt.
I do have to change to a chair without arms on it when I use the extension or I won’t be centered in front of the needle. The red square thing that my foot control is setting on is one of those silicone potholders. As long as you keep it dusted off, it keeps the control from sliding away from you.

>Finished quilting

>I finally finished quilting the heart theme quilt that needs to be shipped by Thursday. The binding will be a soft red to carry the red theme throughout the whole quilt. I put one of my heart print fabrics on the back too.

It is a gray day today so I am going to go turn on my daylight bulbs and it will be sunshiny in here.